How to Use Acrobat® Fillable Forms
Acrobat® Fillable Forms
You must have the FREE Adobe Reader 8® to take full advantage
of the enabled functions such as the ability to save completed forms. Older
versions of Acrobat® will continue to work, but with fewer functions. You can
download the
FREE Adobe Reader 8®
from here.
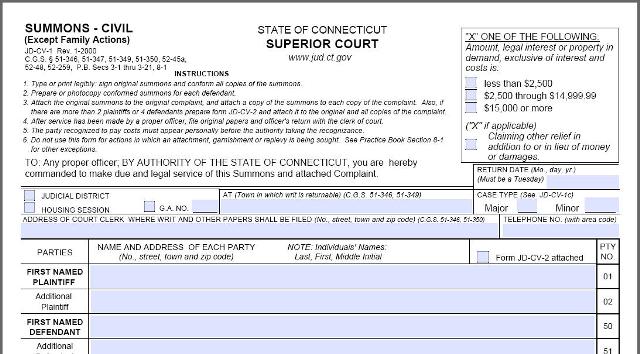
To enter information in a Fillable PDF Form:
For help you may press the F1 key while viewing a form.
An easy way to help enter information into a Fillable PDF Form is to click on
the Highlight Fields
 button in the upper right hand corner of the menu bar of the PDF form.
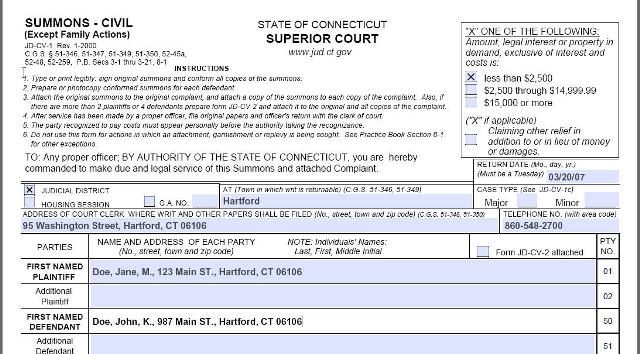
After clicking this button the Fillable Fields within the form will be
highlighted in a light blue color which will allow you to enter your information
within these fields. The tab key moves the cursor to the next field and the
space bar is used to enter an X into check boxes.
After entering the information you can either save, print or reset the form.
To Save Data on a Fillable PDF Form:
After entering all the required information on the form, click the Save
button in the PDF menu bar.

The Save a Copy window will open to your My Documents Folder
on your computer.
Note: You can either create a folder within your
My Documents Folder to store all the Fillable PDF Forms in one location
or select a specific location on your computer with a folder specifically
designated for storing all of the Fillable PDF Forms.
Once you have the desired location for storing the form click the Save
button and this will save the form along with the information entered on the form.
To Print a Fillable PDF Form:
After entering all the information on the form which is required, click the
Print button in the PDF Menu Bar or the Print button at the
end of the PDF page.
Print button in the PDF Menu Bar:

Print button at the end of the PDF page:

To Reset Fillable PDF Form:
To reset a form for reuse again after saving or printing your first completed
form, hit the Reset button at the bottom of the page and this will
clear all previously entered information.